Now that we are deep into Spring, I thought it was time to share the dress I made for the Spring Dress Sew-a-long we are hosting over in our Killer Kitsch Discord Community. Please join us! Our sew-a-longs have no end date and we are doing several a year, plus, it’s a great group of sewists and knitters.
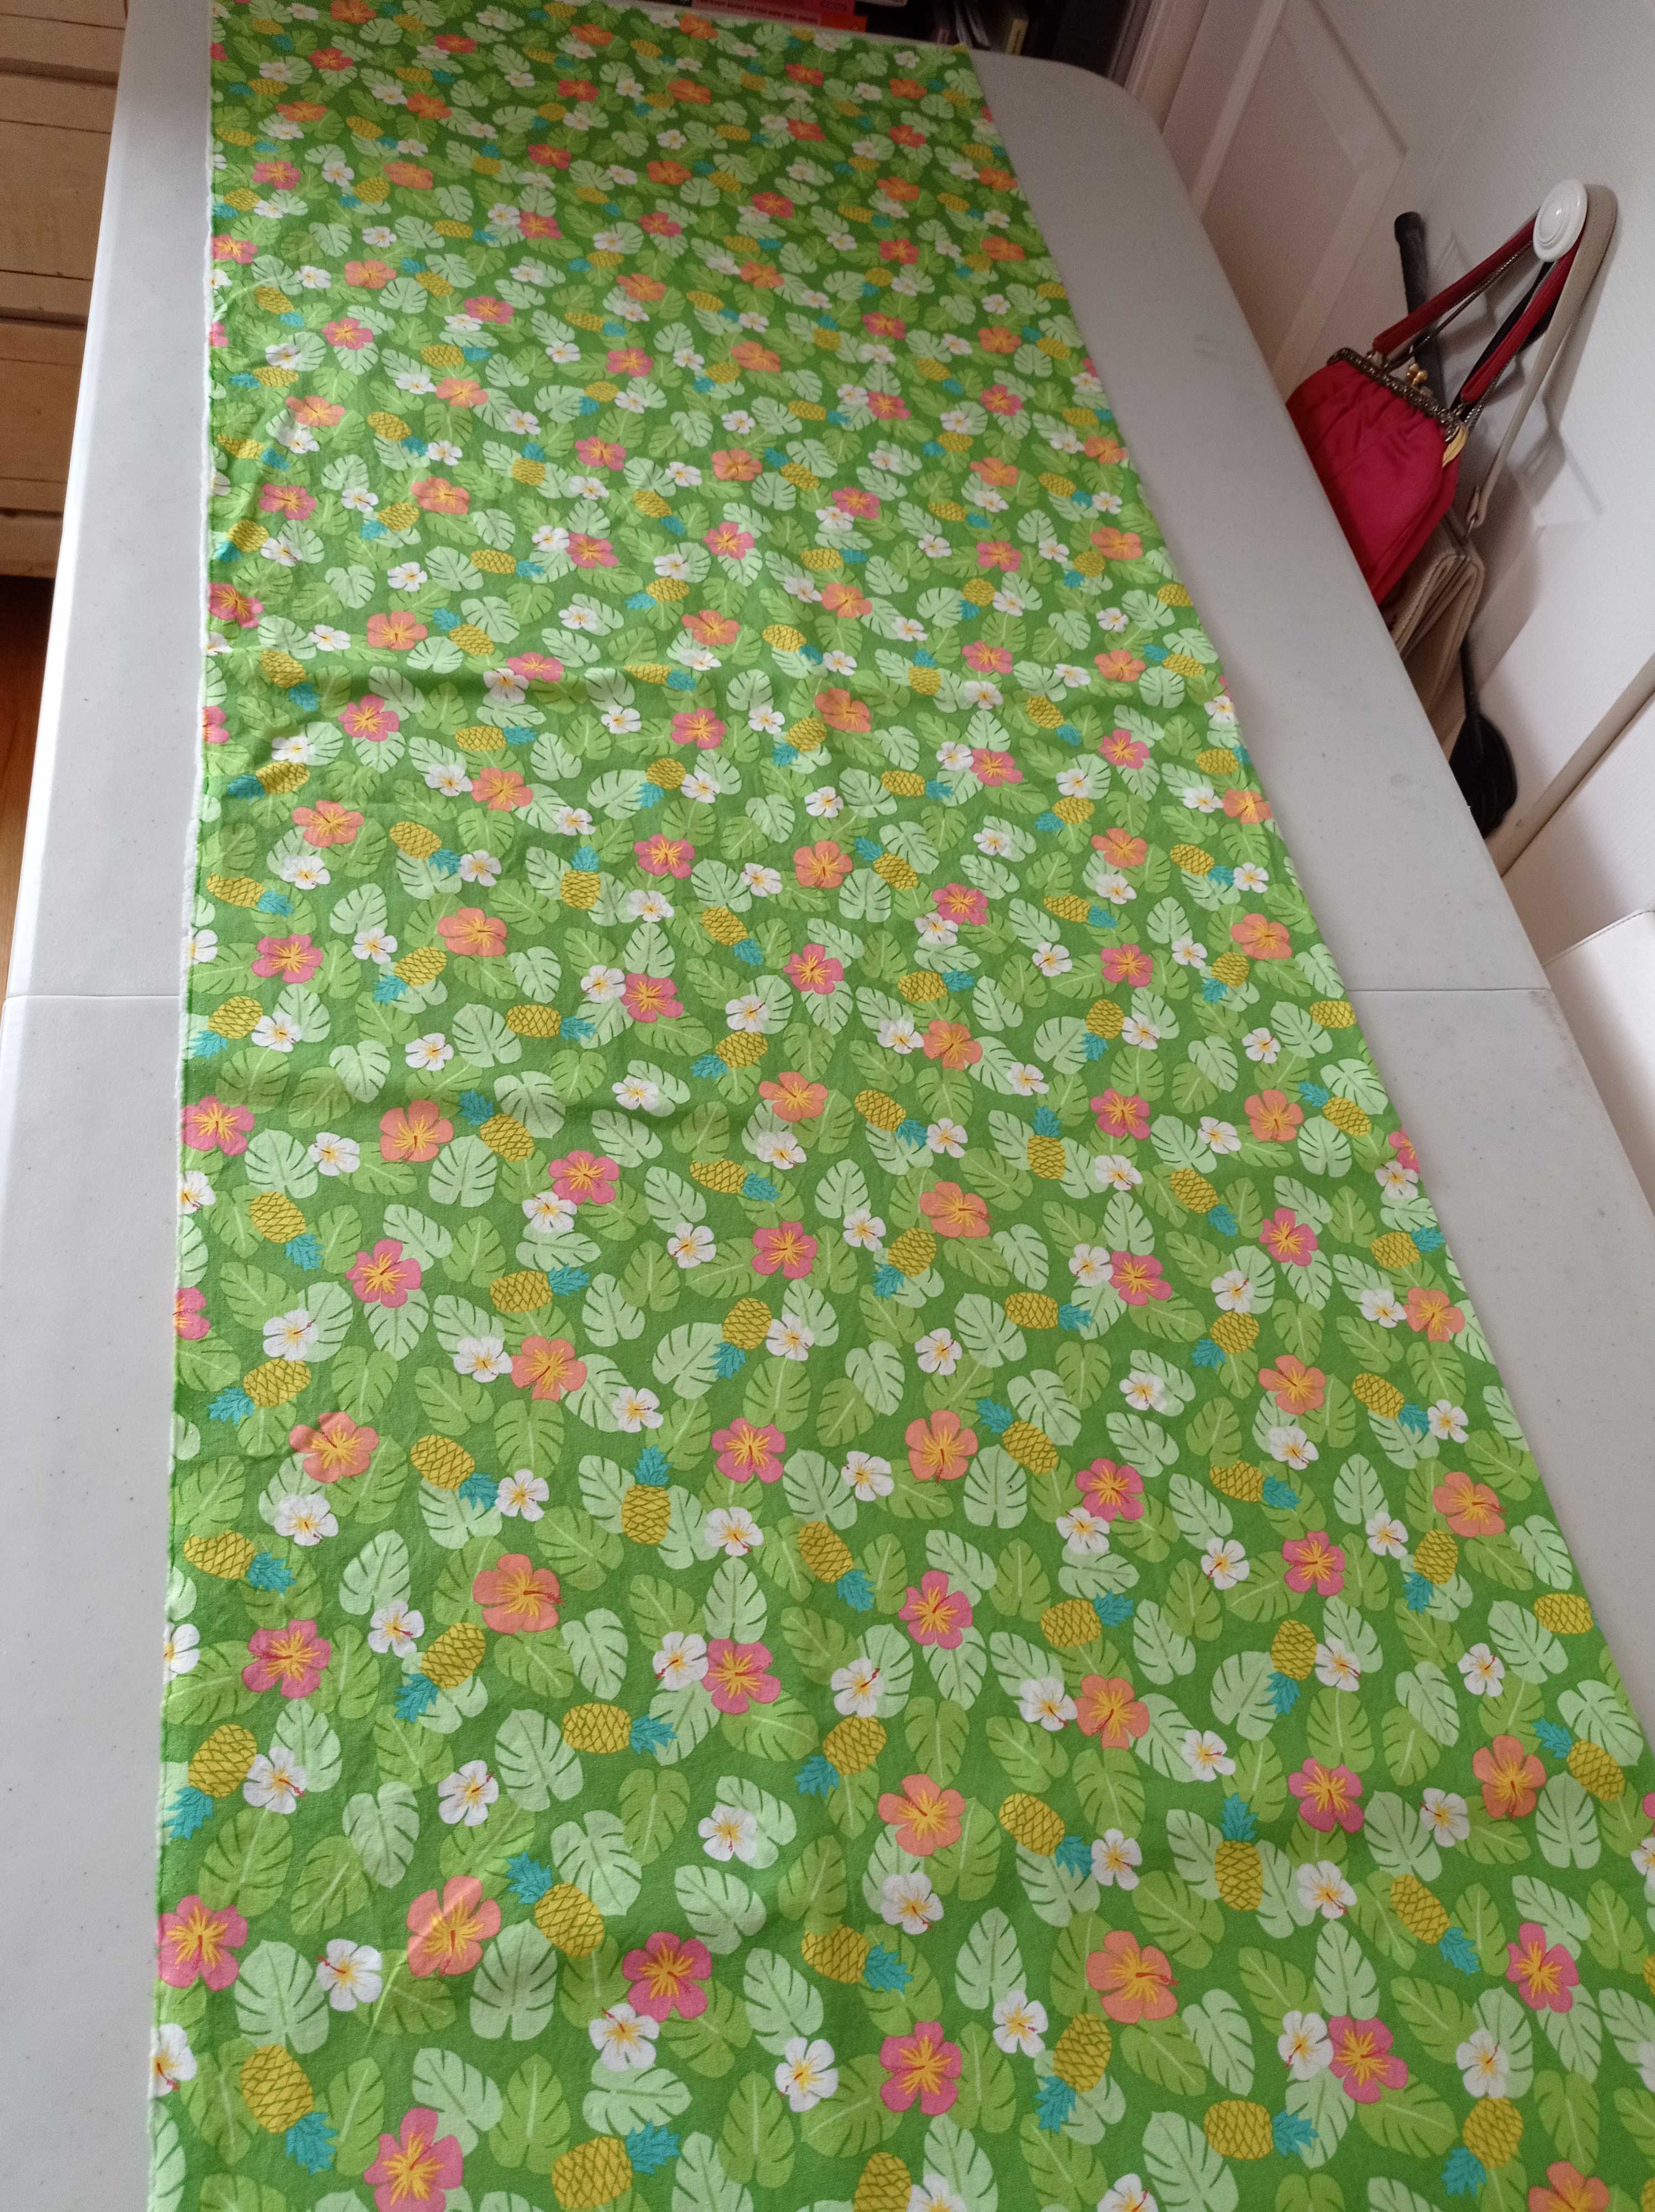
I decided last year that I am going to move away from my base colours of blacks/reds and have made a grand effort to keep up with that decision. Though red will continue to creep into my new makes and occasionally black for skirts and trouser, I am trying to add as much colour as I can. This year I’ve been leaning more towards greens, blues and yellows, however, I’m really feeling the need to get more pink and orange in there too (the colour orange will appear in an upcoming blog post). A few neutrals will get thrown into the mix here and there as well. I’m also trying to boost up my Tiki themed selections, more to come on that!
I was struggling on what to make for my Spring dress and decided to go with a tried and true pattern, that I not only love, but is incredibly flattering for this curvy girl. That pattern is the Butterick B6543. This was my 5th version of the pattern. I do adore this pattern, but after making five of them, I’ve definitely come up with a list of things I would change about it. The next rendition will be a self-drafted pattern along the same lines.
One of these days, I am going to start filming my makes, but for now I have created a photo essay of the steps I took to create my most recent version.
Note: I don’t have these steps included for this dress, but whenever I make a new garment, I always make a toile (aka mock-up/muslin). Trust me, you will save yourself heartbreak later.
Sewing prep-work:
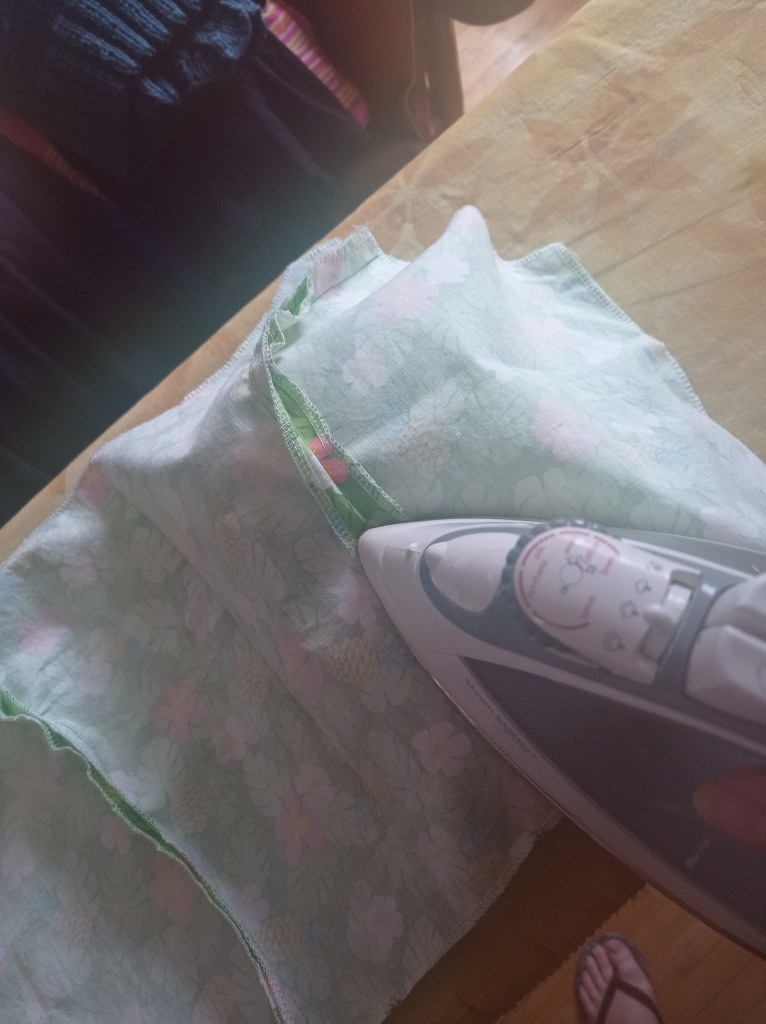
* Pre-wash your fabric.
* Iron your fabric.
* Organize all of your tools.
Pre-washing and ironing your fabric is incredibly important. Please don’t skip this step. You might think that you are saving time by skipping these steps, but trust me, if you don’t do these steps, your pattern pieces may not all come out the right size AND when you do wash the garment it might shrink or become misshapen. No one wants that.


The pattern pieces:
Lay out your fabric on a flat surface and then lay out your pieces according to the instructions. This is especially important for new sewists. Most of us hate wasting fabric, and once you’ve made a few garments, you might get more comfortable with going freestyle, but in the beginning follow the directions that come with the pattern.
In the pros side of going freestyle, I only had 3 meters of fabric and the pattern requires a little more than 4 meters. I was able to fit it all in and still do a 3 panel gathered skirt.

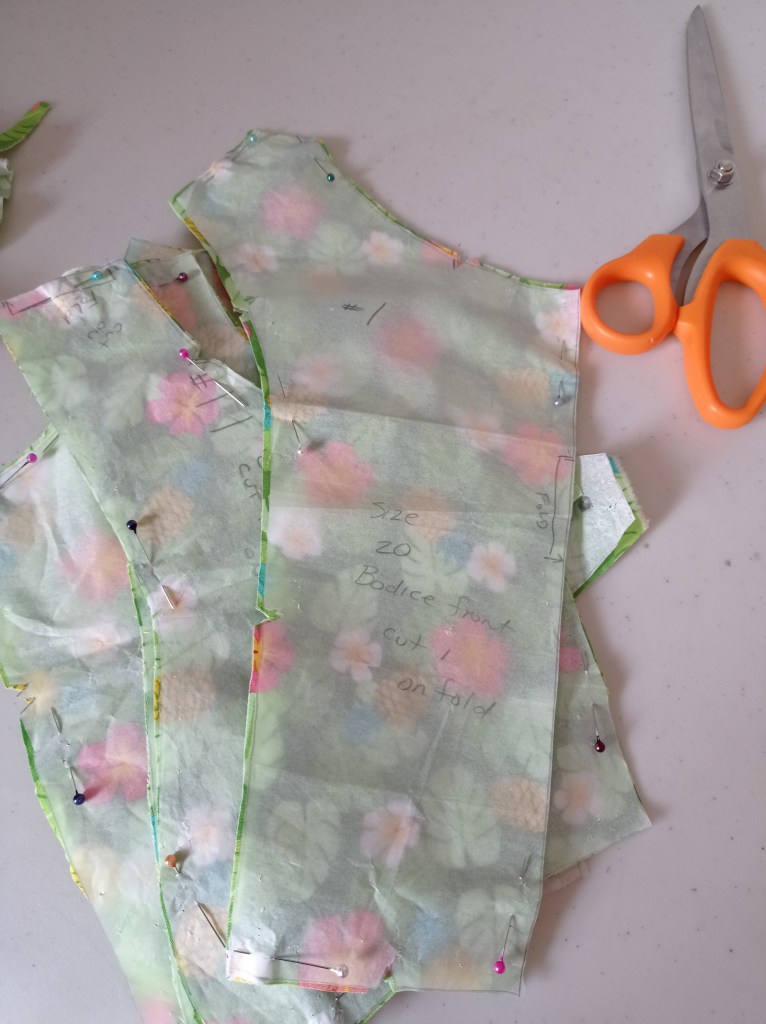
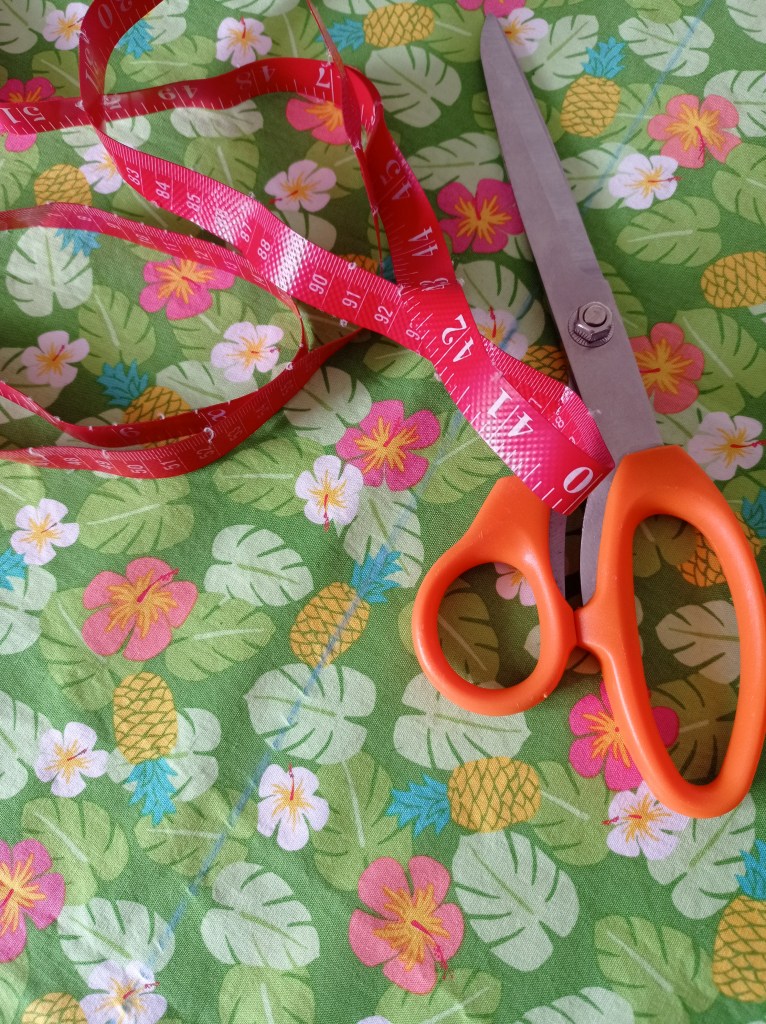
Do your markings:
I always double check that I have clipped where I’m supposed to and marked up my dots, darts and any extra markings needed. I have a variety of colours of tailors chalk and sheets of tracing paper. (I do find that some fabrics don’t agree with tracing paper and I will need to go over the lines with the chalk)


Iron on interfacing/finishing seams:
This might be out of order for some, but it is how I personally like to do it. Next I iron on the interfacing to the pieces (or baste them if the pattern requires) that require it and serge all of my seams. Some patterns will tell you to serge or seam finish last. Unless it is dire to the structure of the garment or a large piece of the seam allowance needs to be removed, I serge before I sew the pieces together.

Pin, sew and press your darts:
I do this for the front and back pieces at the same time. If you are more comfortable using the order in the pattern, please do. As you get more comfortable sewing, you may choose to do all the darts at the same time.
ALWAYS iron your darts in the direction that pattern instructions say.
Tip: If you don’t own a tailor’s ham (I no longer do, it go lost in my last move), just roll up a towel. It works just as well.


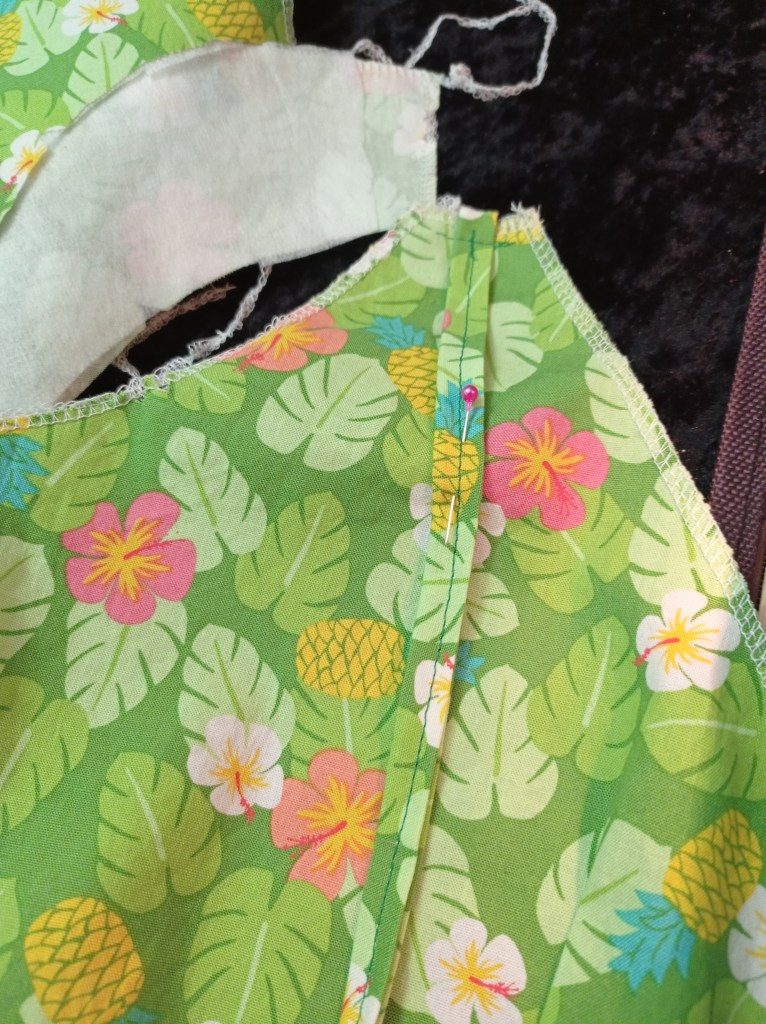
Sew your bodice pieces together!
For this pattern, there are 3 front pieces. The instructions tell you stay stitch on two of the pieces. Do not skip this step. It helps you line all three pieces up and prevents puckers.
Once you have sewn the front pieces together, press your seams.
Next sew the back pieces to the front pieces and iron those seams!


Facing pieces and attaching the straps:
Sew the facings together in the same order that you did the main bodice pieces. Also make sure to iron those seams!
The instructions for this pattern have really clear instructions on how to sew on a strap with an adjustable slider. If you don’t want to use that method, you can also sew on tie straps (I have on all of these dresses). To do so, cut out and sew up 4 long straps.
Follow the steps in the instructions on how to attach the straps. I add a second pin to each strap about 3 inches down to ensure they stay straight for when I sew them in. The pattern also asks you to baste them in place. Don’t skip this step!
Now it’s time to sew the facing to the bodice!
Don’t forget to clip those curves! Clipping the curves helps to ensure everything lays properly. I also under-stitch facings to ensure they don’t roll out during wearing.


Now you have a finished bodice!

Next up, prepare your skirt of choice:
The pattern gives you an option of a pencil skirt or a gathered skirt. I generally love a very full gathered skirt, but have also make this with a circle skirt.

Add the skirt to bodice and insert the zipper:
I say add the zipper style you are most comfortable with. (this is why I don’t have photos of the zipper installation). If you are just learning how to sew, go with what the pattern says.
Some are camp lapped zipper, some are camp invisible zipper. I’m the latter. I love a good invisible zip. Here is the tutorial I use. https://byhandlondon.com/blogs/by-hand-london/11628353-inserting-an-invisible-zipper-the-definitive-tutorial (By Hand London has lots of great tutorials)
Hemming:
This depends on the type of skirt you add. For a gathered skirt, I hem before I sew the skirt to the bodice. If you have cut your skirt on the bias (circle skirt and some pencil skirts) then let the dress hang for a few days before you hem. You might need to even out the hem.
Tip: If you want to add a bit of weight to your skirt, so it doesn’t blow up as much in the wind, add hem tap.
The finished dress!
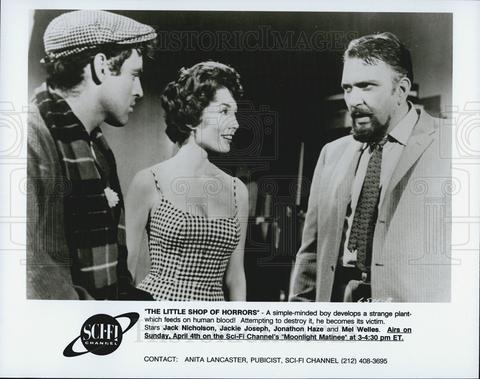
Ain’t she pretty! The inspriation for why I started making the B6453 pattern, is due to my obsession with the character Audrey’s wardrobe from the 1960s Little Shop of Horrors. I’ve made the checked version and one day soon am going to make the red version!