

Tag: vintage reproduction
The Ghostie &. The Bat!
Brand new video!
Can A.I. Produce A Usable Knitting Pattern?
Brand new video!
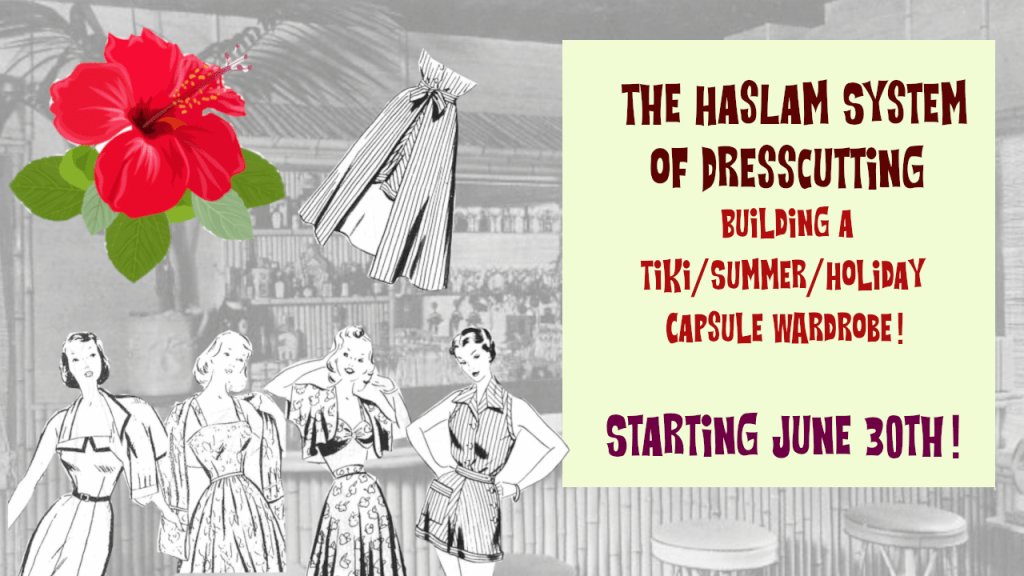
Exciting News!
EXCITING NEWS!
I’ve been hinting about it for a few weeks and I’ve been posting some sneak peeks! It is finally time for me to tell you when the first video in the Building a Tiki/Summer/Holiday Capsule Wardrobe with Haslam launches!
Beginning Sunday, June 30th, I will post a new video, every week, for the next few weeks! Are you as excited as I am? I’ve been working my tushie off to get this series ready, including lots of research, toiles, and writing!
In this series, we will build a Tiki/Summer/Holiday Capsule Wardrobe with the Haslam System of Dresscutting. Each piece we create will be a basic garment that you can customize to your heart’s desire. I will be giving you some ideas on how to do that in the tutorials!
Please subscribe to my channel and click the notification bell so you don’t miss out on any of the videos/tutorials! Here is a link to my YouTube Channel! https://www.youtube.com/@killerkitschvintagelizzie
If you are new to Haslam, you may want to watch my first series. In that series, I teach you all of the basics you will need to get started! Here is the link! https://www.youtube.com/playlist?list=PLjSfw2LRUE9TNKnOk9Bcocjco09xGbNeN
Thank you for watching! Please subscribe and tell your friends! Subscribing and clicking the notification bell icon ensures you won’t miss a video!
I have a Patreon. I would love it if you subscribed! I put detailed blog posts for each video I post. https://www.patreon.com/killerkitschdesigns
If you are inclined, I have a Ko-Fi account. All donations are appreciated and will help me upgrade my equipment (lighting, microphones etc). Thank you so much!
https://ko-fi.com/killerkitschlizzie
Other links to follow!
Discord: https://discord.gg/yPeZRJpWpk
Instagram: https://www.instagram.com/killerkitsch13/
Facebook: https://www.facebook.com/killerkitsch13
Website: https://killerkitschdesigns.com/

Finally Making a Tiki Capsule Wardrobe!
I’ve been thinking about this for a really long time! Finally, I’m doing something about it!
A Tiki capsule-inspired wardrobe has been on my list of makes for a really, really long time. I’ve been collecting patterns and fabric for quite some time now. As part of my thoughtful sewing and knitting, I thought it was time to make a capsule wardrobe or two.
Please see my Patreon for a more detailed post. https://www.patreon.com/killerkitschdesigns
Thank you for watching! Please subscribe and tell your friends! Subscribing and clicking the notification bell icon ensures you won’t miss a video!
I have a Patreon. I would love it if you subscribed! There will be a new monthly project, every month! https://www.patreon.com/killerkitschdesigns
If you are inclined, I have a Ko-Fi account. All donations are appreciated and will help me upgrade my equipment (lighting, microphones etc). Thank you so much!
https://ko-fi.com/killerkitschlizzie
Other links to follow!
Discord: https://discord.gg/yPeZRJpWpk
Instagram: https://www.instagram.com/killerkitsch13/
Facebook: https://www.facebook.com/killerkitsch13 Website: https://killerkitschdesigns.com/
I Have Too Much Yarn!
Well… I’ve finally come to admit it. I have too much yarn. Well… too many odds and ends of yarn!
In this video, I need your help! What to do with all of the yarn ball ends? Seriously!
The Patreon blog post is here: https://www.patreon.com/killerkitschdesigns
Thank you for watching! Please subscribe and tell your friends! Subscribing and clicking the notification bell icon ensures you won’t miss a video!
I have a Patreon. I would love it if you subscribed! There will be a new monthly project, every month! https://www.patreon.com/killerkitschdesigns
If you are inclined, I have a Ko-Fi account. All donations are appreciated and will help me upgrade my equipment (lighting, microphones etc). Thank you so much!
https://ko-fi.com/killerkitschlizzie
Other links to follow!
Discord: https://discord.gg/yPeZRJpWpk
Instagram: https://www.instagram.com/killerkitsch13/
Facebook: https://www.facebook.com/killerkitsch13
Website: https://killerkitschdesigns.com/
Finally Getting Things Done!
In today’s video, I have a bit of a personal update, along with chatting about my current works in progress! I will have a more detailed blog post over on Patreon! You can find that post by clicking here! https://www.patreon.com/killerkitschdesigns
Other links:
Tara Deighton Sinead Cardigan https://www.taradeighton.co.uk/product-page/the-sinead-ballet-wrap-cardigan-pdf-download
Pants https://youtu.be/PDj20JgDoAM
Mrs Huizenga https://www.instagram.com/mrs_huizenga/
Please let me know if there are other types of stitches or if you have any knitting questions.
Thank you for watching! Please subscribe and tell your friends! Subscribing and clicking the notification bell icon ensures you won’t miss a video!
I have a Patreon. I would love it if you subscribed! There will be a new monthly project, every month! https://www.patreon.com/killerkitschdesigns
If you are inclined, I have a Ko-Fi account. All donations are appreciated and will help me upgrade my equipment (lighting, microphones etc). Thank you so much!
https://ko-fi.com/killerkitschlizzie
Other links to follow!
Discord: https://discord.gg/yPeZRJpWpk
Instagram: https://www.instagram.com/killerkitsch13/
Facebook: https://www.facebook.com/killerkitsch13
Website: https://killerkitschdesigns.com/
Kitschy Kringle Bells Brooch Tutorial!
My latest video over on YouTube is also a fun tutorial!

Vintage Sewing Books
Here is my latest video on YouTube.
Sew & Tell and a Bit of Knitting!
Here is my latest video! A bit of sewing and a bit of knitting!
