When you hear the word sweater girl your mind might automatically go to Marilyn Monroe or the many curvaceous women of the 1950s. However, the term sweater girl and the fashion itself started long before that. If you want to find out more about the origins of the sweater girl, watch this video.
It’s the mid-1940s, and the world is at war. Many young men are off to fight the biggest battle of their lives and are likely away from home for the very first time. They’re also incredibly stressed out. During this time, women’s fashion was also changing drastically, and one of those changes was the sexy, tight-fitting sweater. Not only was this a way for women to show off their curves, but the sweater girl also became a symbol of World War II and a way to help distract men from their daily lives as soldiers. That isn’t when the sweater girl trend began. It actually started much earlier than that, and the original model for the sweater girls was not Marilyn Monroe, as many people believe.

To learn the origins of where the sweater girl started, we need to go back to the year 1937. Before we dive into the history, let’s just talk a little bit about what exactly a sweater girl is.
The sweater girl was a 1940s and 1950s fashion trend that originally was very popular amongst Hollywood actresses, and as with a lot of fashion trends, young women started to emulate the way that these actresses looked. For many, it was a way to express their sexuality in a time when women were still supposed to look a certain way. That style itself was also very controversial, as many would say that women dressing in such a sexy way was showing society’s moral decline. When in fact this was giving women a sense of empowerment, and of course, many didn’t like that.


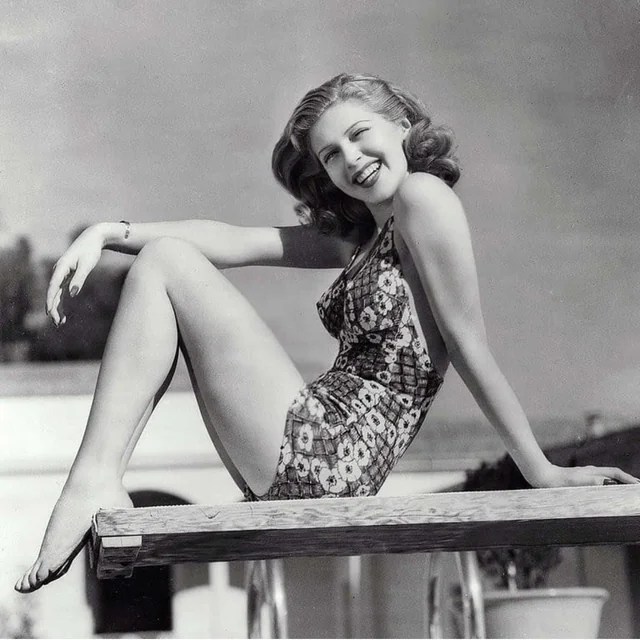
To add to the sexiness of the very fitted sweater, it was often worn with bullet bras and either pencil skirts or capris, or other tighter-fitting pants. You even see photos of women wearing tight-fitting sweaters with shorts.
Let’s get into the history of the origins of the term sweater girl.
It’s said that the original actress who encapsulated the ultimate sweater girl was Lana Turner. She was dubbed sweater girl in 1937 after appearing in a very sexy fitted sweater in the film They Won’t Forget. Trust me, no one forgot how absolutely sexy she looked. From that moment on, other actresses realized how much attention they could get with these very snug-fitting garments and also began wearing them. This new fashion trend then created what the world viewed as a new version of a sex symbol.
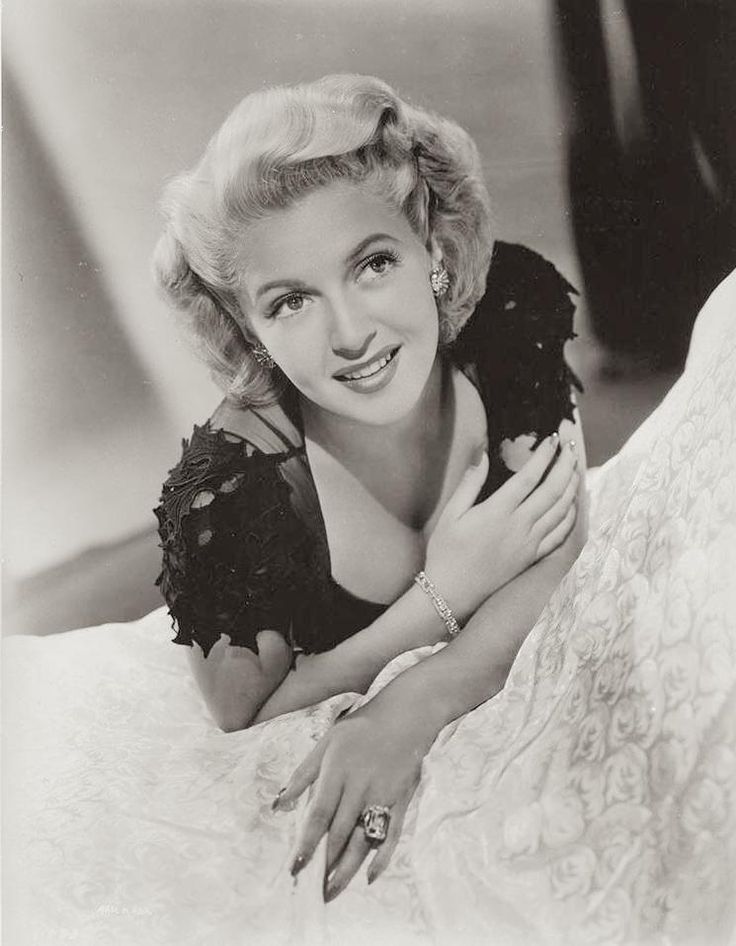

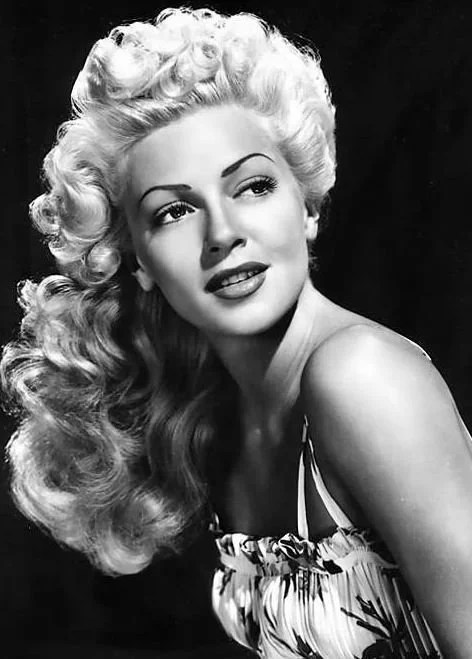
It’s also said that Lana Turner’s picture was very popular with soldiers during World War II. Along with Lana, soldiers would have many photos of other actresses and pin-up models with them. Apparently, this was a source of comfort for them, and it helped them a bit when they were homesick. It was also a great way for them to be distracted from the horrors going on around them.
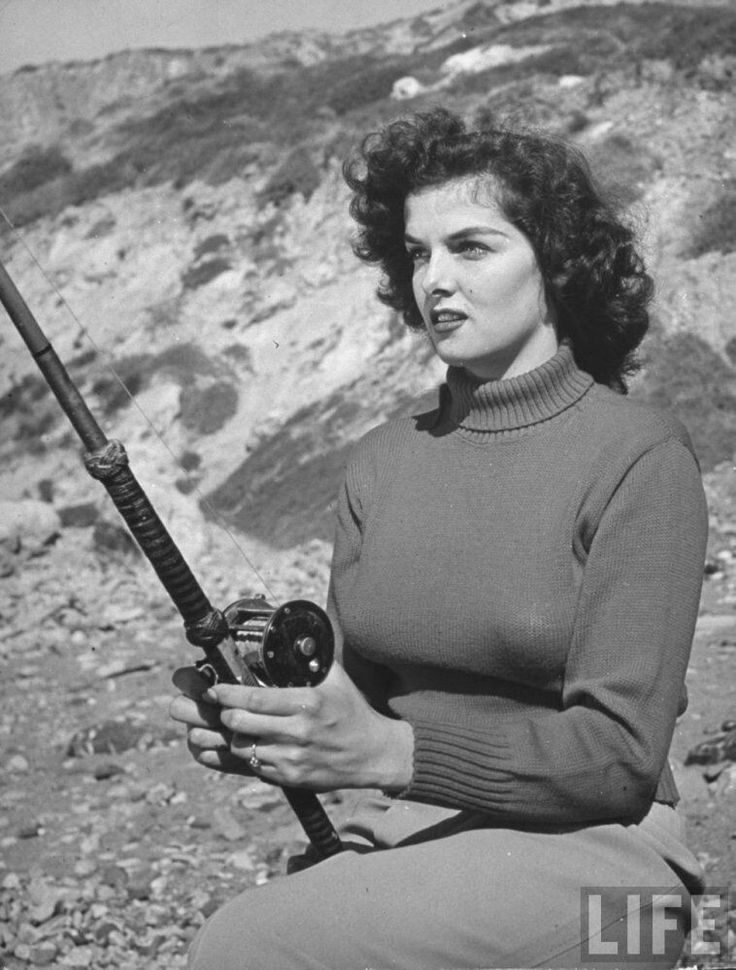
The popularity of the sweater girl grew when actresses such as Jayne Mansfield, Jane Russell, Patti Page, and, of course, Marilyn Monroe started also wearing the tighter-fitting sweaters.
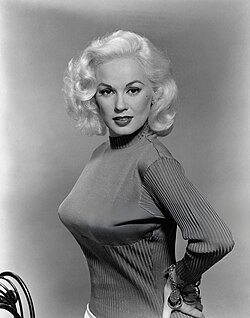
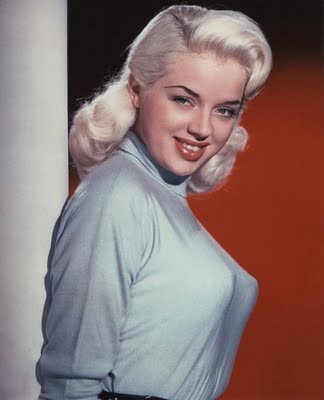
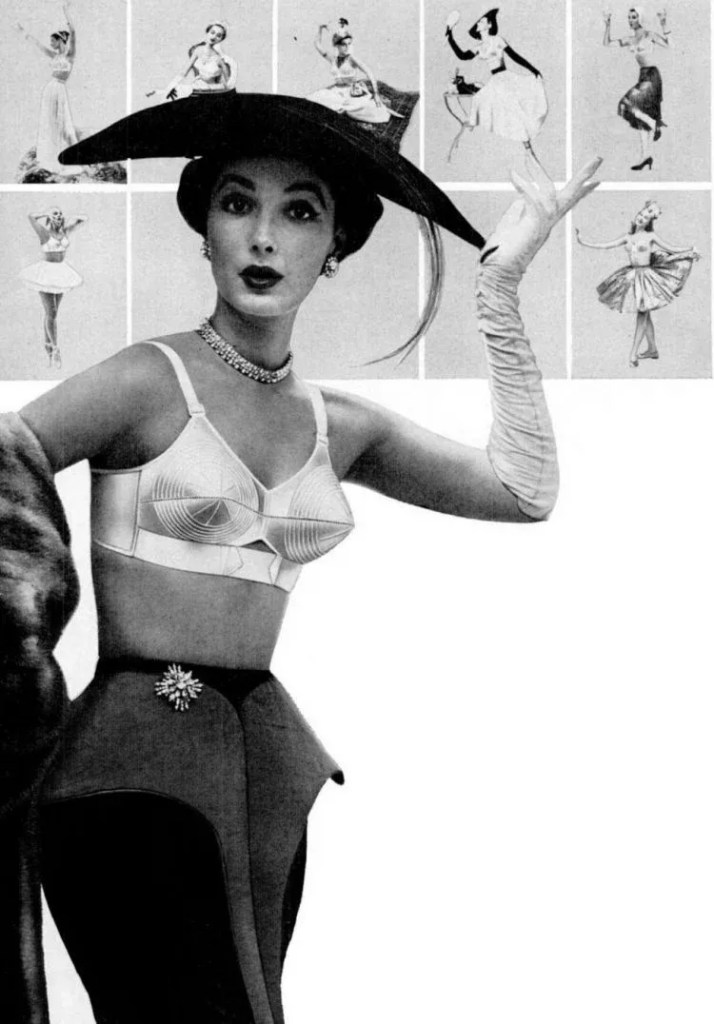
The styling of the tight-fitting sweater could be in a variety of different ways. It could be plain with either a turtleneck or some variation of a scoop neck, and occasionally a V-neck, but not as often. Very often, as well, they would be embellished with either embroidery, sequins, or some sort of beading. Often, you would see these in sweater sets as well. These beautiful sweaters not only highlighted the beautiful hourglass figures due to their form-fitting shape, but they also got a little bit of help with the famous bullet bra.


At this time, we were also seeing more progress in the way that fabric was being made. You could get fabric for sweaters that was made with cashmere or angora, and even yarn for knitting that had become softer. It wasn’t that itchy scratchy wool any longer. Because fabrics such as cashmere and angora fabrics could also be made thinner and this would also add to the ability to have it more form-fitting. Occasionally, sweaters would also be made with cotton, though at that time, I don’t think cotton would hold up as well as wool. I feel like it would have eventually lost shape a little bit. Over time, of course, cotton did improve with technology.
I absolutely love the look of bullet bras, and they’ve become very, very popular in today’s pin-up culture and rockabilly culture. The sweater girl look has never really vanished. Many companies make modern versions of the bullet bras, as well as you can still find vintage ones. Unfortunately, a lot of vintage lingerie and underpinnings don’t hold up to newer ones. In a lot of cases, the elastic fabric needed for flexibility in a brassiere often deteriorates, and a lot of the structure is lost because of that. Though I do see a lot of vintage lovers posting about finding original bullet bras. I’m sure if you are somebody who sews or you know somebody who does, parts of that bra can be fixed in order to make it wearable again.
As I mentioned earlier with the evolving exposure of the women’s figure can cause controversy around the tight-fitting sweaters. another clutch your pearls moment of women wanting to show off their bus lines and their wastes. Many felt that this was the moral downfall of youth post-World War II, even though this trend started before the war. According to a couple of articles that I read about this, they were saying that the bobby sockers were the worst influencers of all of the women. During this time, bobby soxers were usually either teenagers or women in their early twenties. I think every generation picks that sort of age range to blame for the downfall of society.


There is even a movie called The Sweater Girl. The Sweater Girl is a 1942 film that was written by Robert Blees and Beulah Marie Dix, and it was directed by William Clemens. This movie also starred actors Eddie Bracken, June Preisser, Philip Terry, and Betty Jean Rhodes. The movie was a low-budget comedy, and the plot is about college students attempting to solve a series of murders on campus, while at the same time, they’re trying to put on a big show for the school.
Then, in 1944, Navy Screen Magazine did a one-reel short that showed portions of the special Armed Forces Radio Network recording session. This session was with Bob Hope, where he introduces Judy Garland as a sweater girl before she begins to sing Over the Rainbow. Apparently, Garland asked Bob Hope why he thought that the men in the audience were so crazy about sweater girls, and of course, in his wisecracking lines, he said, “That’s one mystery I’d like to unravel”. Very typical of Bob Hope of that era.
As I mentioned in the video, here is a guide if you would like to try out the sweater girl look!
1. Sweater & Top
- Fit: Choose a form-fitting sweater that hugs the bust and waist. Stretchy knits or wool blends work best.
- Neckline: Crew neck, scoop neck, or slightly sweetheart-shaped. Some vintage styles had subtle puffed shoulders.
- Length: Tuck the sweater into your high-waisted skirt or pants to emphasize the waist.
- Colors: Pastels, red, black, or cream were classic. Solid colors are more authentic than bold prints.
- Optional Details: Buttons or small embellishments, like a tiny bow or knit pattern, add retro charm.
2. Skirt & Bottoms
- High-Waisted Pencil Skirt: Knee-length or just below the knee, fitted but not overly tight.
- A-Line Skirt: Offers a softer, more playful look while still accentuating the waist.
- Wide Belts: Cinch the waist further; a simple leather or fabric belt works perfectly.
- High-Waisted Pants: For a slightly more casual look, tailored trousers with a defined waist also work.
3. Hair
- Victory Rolls: Iconic 1940s rolled hairstyle.
- Soft Waves: Loose, side-parted waves for a more 1950s look.
- Updos: Simple chignons or ponytails with curls at the ends work well for a polished look.
- Accessories: Hair scarves, ribbons, or vintage-style hairpins complete the look.
4. Makeup
- Eyes: Neutral eyeshadow, winged eyeliner, and defined brows.
- Lips: Classic red or pink lipstick, matte or slightly glossy.
- Cheeks: Subtle blush to highlight the cheekbones.
- Optional: Light mascara or false lashes to enhance the eyes.
5. Shoes & Accessories
- Shoes: Pointed-toe pumps, Mary Janes, or classic kitten heels.
- Bags: Structured handbags or small clutch bags.
- Jewelry: Simple pearl earrings or a delicate necklace.
Additional links:
1930s Summer Fashion: https://youtu.be/2dVsUeQXpkg
Tasha Could Make That: https://tashacouldmakethat.com/
Andi Satterlund: https://www.patreon.com/c/AndiSatterlund/about
Poison Grrls: https://www.poisongrrls.com/
If you enjoyed this video, please subscribe, give this video a thumbs up if you liked it and also, I now have memberships on this channel and those memberships do include early access to weekly videos, eventually I’ll do semi-regular members only chats, you’ll get discounts to new products, I’ll also do some members only posts, videos and possibly some tutorials shortly. It does not cost that much to join, and it helps out my channel.
I have a Patreon. I would love it if you became a member. https://www.patreon.com/killerkitschdesigns
If you are inclined, I have a Ko-Fi account. All donations are appreciated and will help me upgrade my equipment (lighting, microphones etc).
Thank you so much! https://ko-fi.com/killerkitschlizzie
Other links to follow! Discord: https://discord.gg/yPeZRJpWpk
Instagram: https://www.instagram.com/killerkitsch13/
Facebook: https://www.facebook.com/killerkitsch13
Website: https://killerkitschdesigns.com/