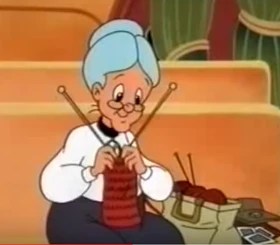
Often in classic movies or movies set in eras such as the 1950s and before, you will see women knitting in an almost impossible form. Needles up, hands down, and knitting like their hands are on fire. This is called Parlor Knitting, and if you want to find out more about what exactly that is, watch this video.
As I mentioned in the intro, often in television and movies that are in historical settings or in classic movies, you will see many women knitting in a very peculiar style. That style is called Parlor Knitting. Before I talk about what that is, I think it’s important to talk about a few different styles of knitting so you can understand the differences. I want to do this because I have asked a few people what style they knit in, and they weren’t sure.
Firstly, what would make a knitting style different from the other? It’s a few different things. One, it could be the way that the yarn is being held in your hands. It could be the way that you’re picking up your stitches. It could be if you are throwing the yarn or picking the yarn up as you knit. All of those things determine what style you’re using.
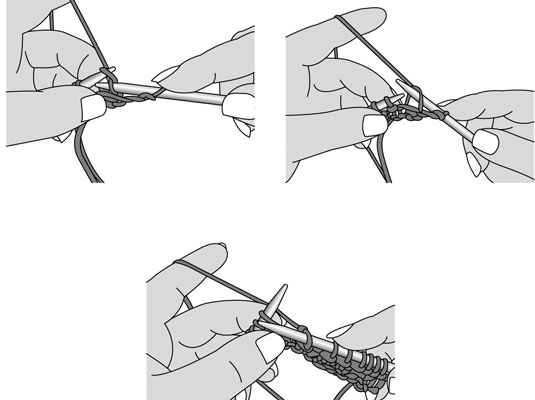
What are the different styles of knitting that are most commonly used today? These would be English Knitting, where you’re throwing the yarn, and then Continental Knitting, where you’re picking the yarn up off the needle.
There are a couple more uncommonly used types of knitting called Portuguese and Norwegian knitting. I will explain what those are in a moment.
In English knitting, you’re throwing the yarn. What that means is the yarn is held in your right hand, and you throw or wrap the yarn around the needle to form the stitch.
Continental Knitting is also known as picking up the yarn. This is when you have the yarn held in your left hand, very similar to the style when you’re crocheting, and you would then pick up the stitch as you’re knitting. My own personal style is that I use English for the most part. It’s how my grandma taught me.
For Portuguese knitting, the attention is usually kept by having the yarn wrapped around your neck as opposed to keeping the tension in your hand. Norwegian knitting, you keep the work always close to the end of the needle tips, and in this case, the tension is also through your fingers.
There are also a few other styles in knitting. Armenian is another one, and I use this for Intarsia sometimes. It’s a way of working your stitches so that you don’t have really long floats when you’re doing Fairisle knitting. I know Intarsia, you’re supposed to not have any floats in it, but there are some occasions where that happens. There’s also double knitting, which I do want to try out one of these days, for scarves, and you’re knitting on both sides of the fabric. Then there’s Fairisle, which involves many different colors of yarn to create designs throughout your garments.
That now brings us to Parlor Knitting.
They say that parlor knitting was an invention of the Victorian era. During this period of time, Victorian women were now involving themselves in more leisurely activities, and knitting was definitely one of them. However, they did not want to knit purely for necessity, and it was definitely meant to be more of an entertainment style of hobby or activity. For them, it often became a competition or a performance piece on who could knit more beautifully. Not just the garment, but the way they were physically knitting that garment. It was also a way for them to differentiate themselves from people who were knitting purely for necessity. A way to distinguish themselves as more upper-class than everyone else.
Knitting was a way to show that they had a good virtue and a very good moral standing in society. Only good women would knit garments like baby bonnets or beautiful shawls to drape over their gorgeous, custom-made dresses. There were also mottoes going around, such as “Idle Hands, idle minds.” The fact that these women were at home knitting or knitting in groups with other women showed that they were keeping themselves busy and out of trouble. It was also a good way for them to escape the home, get into a group, and gossip. which kind of goes against that whole moral thing.
Women of this class would also be given the luxury of being able to buy finer yarns. Women of the lower classes would be buying yarns that were less processed, possibly weaving their own or reusing yarn from other garments that could no longer be used. In Victorian society, you were also seeing a great divide between the poor and the rich.
But now back to parlor knitting. It’s often one style of knitting that I would love to learn. I have attempted it a few times, and I cannot do it. It’s largely in part to the way that the needles are being held. Unfortunately, I cannot find my straight needles anywhere. I have a large selection of circulars, and I have a large selection of vintage and some antique knitting needles. I tidied up my yarn, and since then, they disappeared. However, I am going to show you on chopsticks how exactly you would hold your needles when parlor knitting.
One of these days, I am going to figure out how to do this, and if I can, I will do a tutorial about it.
To give you a little bit better visualization of what this looks like, if you have ever watched any classic British television or movies, and you see someone knitting in those movies, they are generally doing parlor knitting. In the Miss Marple television series, the character Miss Marple is an avid knitter, and you will see her knitting in that style. When I first started watching Miss Marple many, many moons ago, I was intrigued by this style. At this point, unfortunately, my grandma was no longer with us, and I couldn’t talk to her about it, and my mom had no clue what I was talking about. Both my mom and my grandma knit English style, and that was how my grandmother taught me how to knit. I have also attempted to try to learn Continental knitting, and if I could figure out how to get my hands to work for that, then it might be easier for me to attempt parlor knitting. However, to do either Continental or parlor knitting, I do need to find my straight needles.
I know the style of knitting was completely meant for performance; however, I honestly love the way it looks, and I also want to learn how to do this. Is there anyone out there who also wants to learn how to parlor knit? If I get enough interest, I will force myself to learn it so I can do a video tutorial. I think it will be both a fun and frustrating challenge; however, I would love to learn how to do it. If you enjoyed this video, please subscribe, give this video a thumbs up if you liked it and also, I now have memberships on this channel and those memberships do include early access to weekly videos, eventually I’ll do semi-regular members only chats, you’ll get discounts to new products, I’ll also do some members only posts, videos and possibly some tutorials shortly. It does not cost that much to join, and it helps out my channel.
In this video, I am going to show you how to create your toile! I will also be adding some tips and tricks throughout the video.
Supplies you will need.
Pattern pieces
Toile fabric
Sewing machine
Fabric scissors
Pins
Contrasting thread – easier for fitting
Marker – I use this in the fitting phase
If you enjoyed this video, please consider liking this video and subscribing.
That’s it for now. Thank you for watching. Stay kitschy and I will see you soon!
Thank you for watching! Please subscribe and tell your friends!
If you are inclined, I have a Ko-Fi account. All donations are appreciated and will help me upgrade my equipment (lighting, microphones etc). Thank you so much!
In this episode, I am going to show you how to use your pattern block to create pattern pieces from the pattern block/sloper. I will also show you how to create the facing pieces.
Supplies you will need:
Template
Pattern block/sloper
Tracing paper
Pattern
Pencil
Marker
Eraser
Pencil sharpener
A few things to note. These patterns don’t come with a seam allowance and most cases the facings. For the pattern pieces, I add a ⅜” or a ⅝” seam allowance (or seam allowance of your preference.
Back pattern piece
Front pattern piece
If you enjoyed this video, please consider liking this video and subscribing.
That’s it for now. Thank you for watching. Stay kitschy and I will see you soon!
Thank you for watching! Please subscribe and tell your friends!
If you are inclined, I have a Ko-Fi account. All donations are appreciated and will help me upgrade my equipment (lighting, microphones etc). Thank you so much!
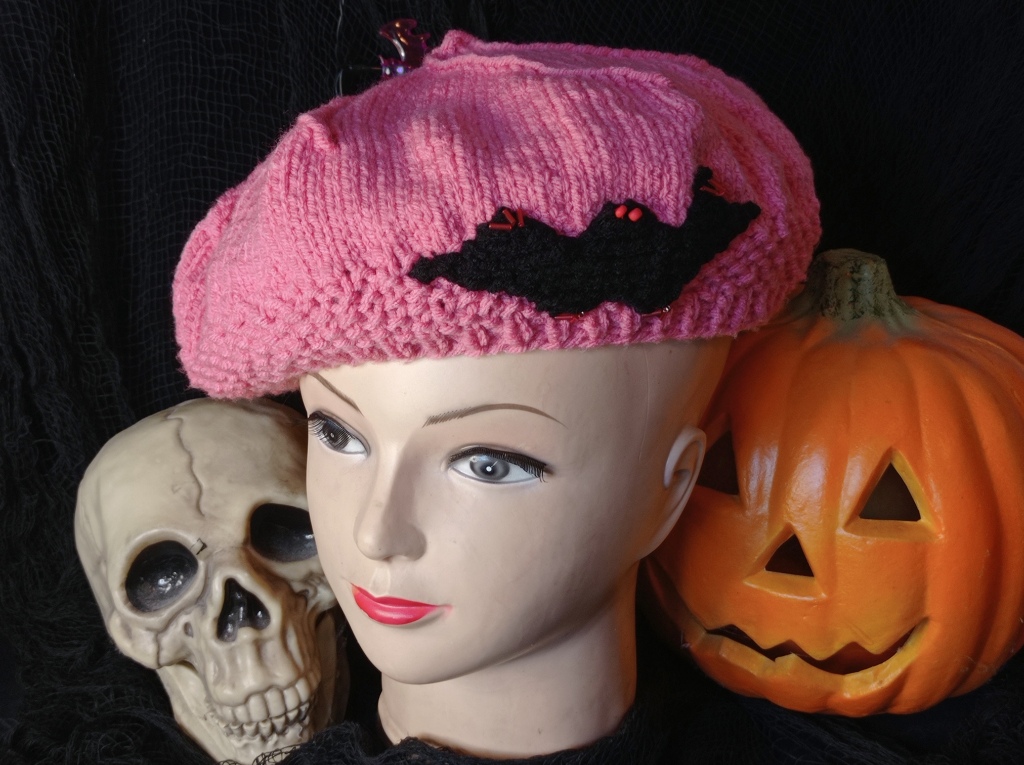
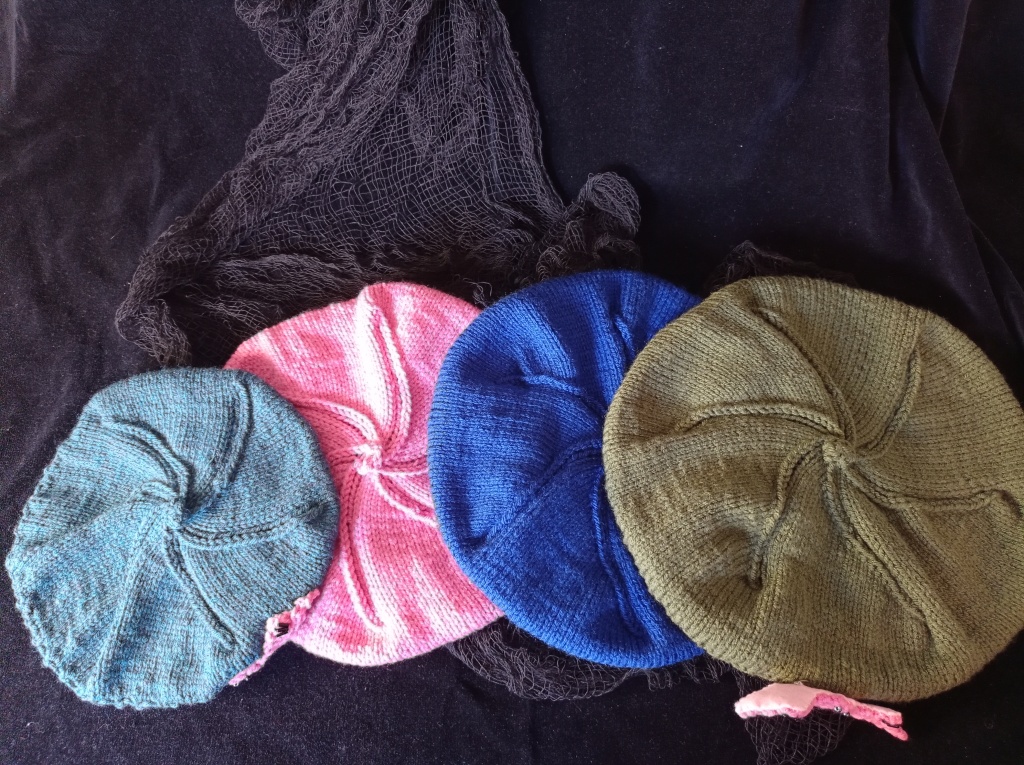
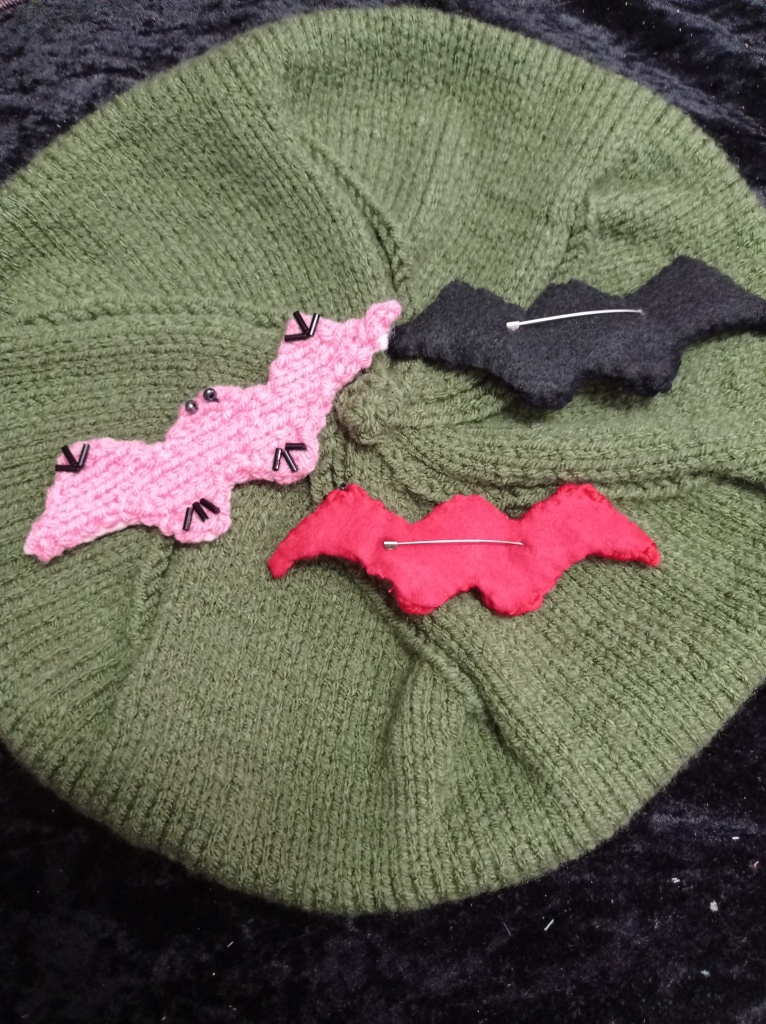
Hello all! Today we will unofficially celebrate the launch of my very first knitting pattern, The Batty About Bats Beret! I wouldn’t be able to celebrate without also hostinga knit-a-long! The knit-a-long will begin on October 1st! If you are interested in joining the knit-a-long, please keep reading!
The Batty About Bats Beret is based on beret patterns of the 1930s and inspired by Halloween publicity photos, taken of starlets of the time, including Clara Bow! I have chosen to adorn the spooky beret with bats. Why? I may be obsessed with them!
The Batty About Bats Beret is knit in the round with worsted weight yarn and is suitable for advanced beginners and above. However, if you are a beginner and are confident in the swirling mysteries of this beret, then please give it a try!
The Batty About Bats Beret Knit-a-long will be hosted on Discord and Ravelry (please see links below). The knit-a-long will run from October 1st until October 31st (the most spookiest day of the year). The beret is a quick knit and you should be able to finish it in a few days!
Today we’re going to build the front and back sloper/pattern block. Do you have your tools ready!!!
As I mentioned in the previous video, you will need a few items.
The .pdfs
Some kind of tracing paper or large sheets of something. I personally use brown packing paper to draw my patterns on.
Poster board or as we call it in Canada Bristol board. I glue my template to it, to give it more structure. You will also use the poster board to make your pattern block.
Pencils, pencil sharpener, eraser, and markers.
Paper scissors
Glue of some sort. Elmer’s glue works, but I personally preferred using a glue stick. It was easier for me.
I also found an awl as a handy tool for punching the holes.
Alright! We have our pattern blocks ready to go. In the next video, I will show you have to draft your pattern! Please make sure you have already downloaded the pattern book. I will link it again below.
Back Sloper
Front Sloper
If you enjoyed this video, please consider liking this video and subscribing.
That’s it for now. Thank you for watching. Stay kitschy and I will see you soon!
Thank you for watching! Please subscribe and tell your friends!
If you are inclined, I have a Ko-Fi account. All donations are appreciated and will help me upgrade my equipment (lighting, microphones etc). Thank you so much!
Hello and welcome to Killer Kitsch Lizzie! My little world where I sew, knit, and go on vintage reproduction journeys!
Today we are going to build a template! Do you have your tools ready!!!
As I mentioned in the previous video, you will need a few items.
*The .pdfs
*Some kind of tracing paper or large sheets of something. I personally use brown packing paper to draw my patterns on.
*Poster board or as we call it in Canada bristol board. I glue my template to it, to give it more structure. You will also use the poster board to make your pattern block.
*Pencils, pencil sharpener, eraser, and markers.
*Paper scissors
*Glue of some sort. Elmer’s glue works, but I personally preferred using a glue stick. It was easier for me.
*I also found an awl as a handy tool for punching the holes.
Now. Let’s put together the template!!!
Thank you for watching! Please subscribe and tell your friends!
If you are inclined, I have a Ko-Fi account. All donations are appreciated and will help me upgrade my equipment (lighting, microphones etc). Thank you so much!
Hello and welcome to Killer Kitsch Lizzie! My little world where I sew, knit, and go on many fun and sometimes weird creative journeys!
Finally. Finally! The Haslam Journey begins. I’ve been promising this for a long time and now it’s here! I would love it if you came along with me!
So… In this video:
I’m going to give some background on what draft-a-home systems are. A wee bit of a history lesson of what Haslam is and how it came to be. What materials you will need and how the series of videos will be broken down.
What is a draft-at-home system?
What is Haslam?
What I will show you in the next videos is:
How to put together the template.
How to use the template to create a pattern block.
How to use the pattern block to draft your first pattern.
How to make your toile and I will also show you my final garment.
Resources on where to find the template, patterns etc.
What is a draft-at-home system?
A draft-at-home system is a dressmakers tool that allows you to create your own sewing patterns, using your own body measurements or for whomever you are creating a garment for. You can also use the pattern to create different sizes as well as tailor the pattern to fit your body type. There are many types of garments you can use this system for such as tops, coats, skirts, dresses, trousers and even lingerie. You can also use this system to draft clothing for men and children. Which most mothers would normally do.
The Haslam System of Dresscutting does exactly the same thing and is achieved by creating a sloper and from that sloper or pattern block, you create pattern pieces. The system was devised by Miss Grace Haslam (in the 1930s I believe) and was an original home business that eventually has Miss Haslam traveling all over the country teaching her method of dressmaking. There is a very sweet article written about her and I will link it below.
OK! In our next video will get started with putting together our template and drafting our partner block.
You will need a few things to get started. I know this might sound a bit overwhelming, but it’s not really more items than if you were tracing out a pattern.
Supplies you will need:
You will need to get yourself 2 PDFs. (there will be links below for places to buy these)
copy of the Haslam template and the Foundations Draftings with Instructions. I am going to leave links below for where I purchased my .pdf.
Unfortunately, I don’t have a free copy to provide. I am on the hunt for Haslam books and a physical template. Hopefully, one day I will find originals.
A ruler. The template is an actual ruler, but I found it helpful to still have a ruler handy.
Measuring tape. You will need to take some important body measurements. I have also written a blog post with these steps and will link it below. You might also want someone to help you with the measurements. Some of them are your back and shoulders. It can be done on your own. I did it myself.
Some kind of tracing paper or large sheets of paper. I personally use brown packing paper to draw/draft my patterns on.
Poster board or as we call it in Canada bristol board. I glue my template to it, to give it more structure. You will also use the poster board to make your pattern block.
Pencils, pencil sharpener, eraser, and markers.
Paper scissors
Glue of some sort. Elmer’s glue works, but I personally preferred using a glue stick. It was easier for me.
I also found an awl as a handy tool for punching the holes.
I’m also going to list all of the sellers I know who have .pdf booklets for patterns. There are way more options now than when I first started teaching myself Haslam.
If you enjoyed this video, please consider liking this video and subscribing.
That’s it for now. Thank you for watching. Stay kitschy and I will see you soon!
Thank you for watching! Please subscribe and tell your friends!
If you are inclined, I have a Ko-Fi account. All donations are appreciated and will help me upgrade my equipment (lighting, microphones etc). Thank you so much!
On September 1st, join me on YouTube for the Haslam System of Dresscutting Series. In the series, I will take you through each step to make that Haslam garment you’ve been dreaming of!
A new episode will be available every Friday at 8 am throughout September, beginning with how to make the template and ending with a final garment! This series will prepare you for all the other Haslam content I have planned for the near future!
Please subscribe to my channel so you don’t miss an episode!
I have also started a Patreon. I will have additional blogs, vlogs, and information for projects there. Here is the link if you want to join. https://www.patreon.com/killerkitschdesigns
We’re just inviting you to take a timeout into the rhythmic ambiance of our breakfast, brunch and/or coffee selections. We are happy whenever you stop by.